Skillshot Arrow Shader
Thomaz Nardelli | Shader Tutorial
So, here's a video of the shader in action, but how is it done?
First things first, this shader works only on a specific mesh.
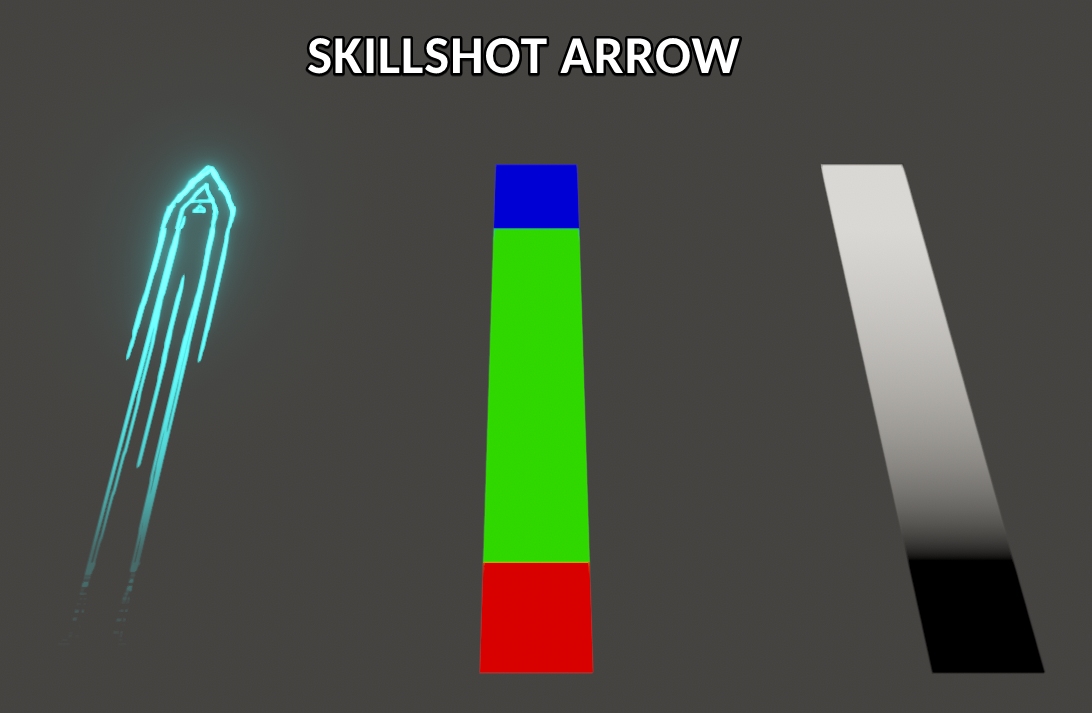
This mesh consists of 3 quads with specific colors (RGB) and an alpha value (as seen in the first image), they are 1x1 units and are all positioned in the (0, 0, 0).
The RGB is used as a mask / splatmap to separate the textures per quad.
bot *= R;
mid *= G;
bot *= B;

final = (bot + mid + top) * _Color;

Right the quads are all stacked on top of each other, to move them we will use the vertex alpha
v.vertex.z += v.color.a * _Range;

Since the bottom quad got a value of 0, it won't move, the top is all 1 so it will be offset by the _Range, and the middle one will be stretched, since only 2 vertices will move.
Now the thickness variation is a bit more tricky
We need to scale the ends while offsetting by half the amount to the opposite direction so the range will be constant, while scaling the middle so it doesn't overlap.
// Here we are scaling only the ends
float mask = v.color.r + v.color.b;
mask *= _Thic;
mask += v.color.g; // Adding the middle as 1 so it stays the same
v.vertex.xz *= mask;

// The initial offset
v.vertex.z += v.color.a * _Range;

// Here we are remapping the middle (0~1 to -1~1) so we can scale it using na offset
v.vertex.z -= ((_Thic / 2.0) * v.color.g - 0.5 * v.color.g) * (2 * v.color.a - 1);
v.vertex.z -= ((_Thic / 2.0) - 0.5) * (2 * v.color.a - 1); // pushing the ends so the range stays the same

// Now we are scaling the middle part
float mask2 = v.color.g;
mask2 *= _Thic;
mask2 += v.color.r + v.color.b;
v.vertex.x *= mask2;

o.vertex = UnityObjectToClipPos(v.vertex);
And that's it! There are a few more things in the final shader, like an alpha mask based on the distance from the origin and some visualization modes, also notice that you need to update the bounds of the renderer so the mesh isn't culled prematurely.